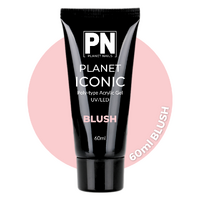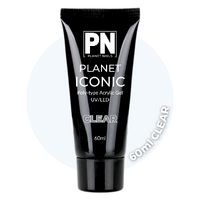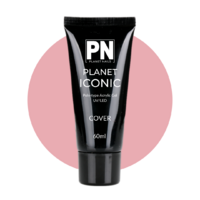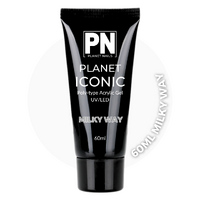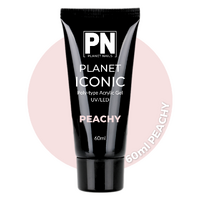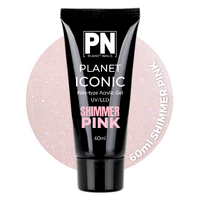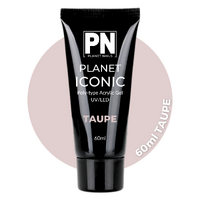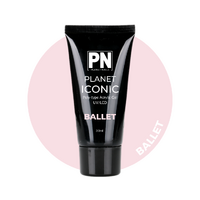
Nail Polygels
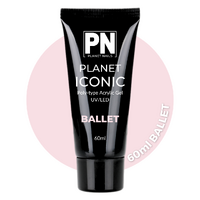
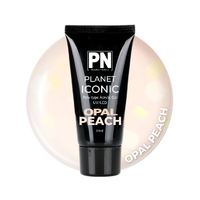
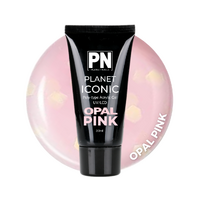
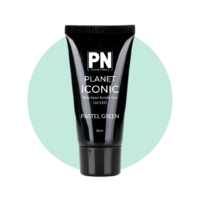
PLANET ICONIC: HEMA FREE POLY-TYPE ACRYLIC GEL
ACRYLIC GEL HYBRID
SCULPTS LIKE ACRYLIC
FILE-OFF
HEMA FREE
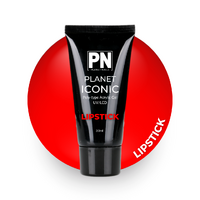
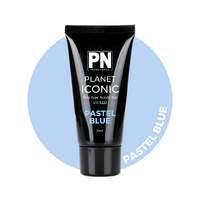
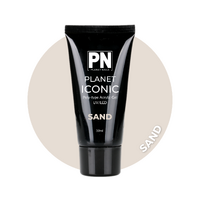
Planet Iconic is a HEMA free hybrid between a hard gel and acrylic. It sculpts like acrylic and cures like gel, with no liquid to powder ratio to get right, no heat spikes during curing and no wastage: just cut off what you need. It won’t run and only sets once you cure it, giving you unlimited working time.
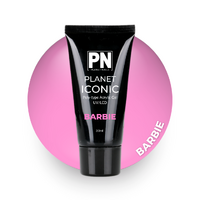
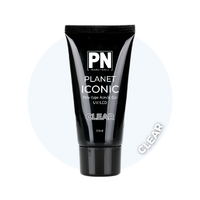
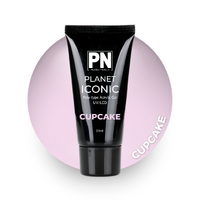
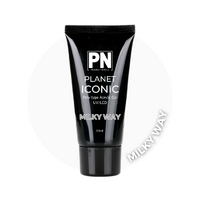
Use Iconic for natural tip overlays and extensions, including extreme shapes and lengths. It’s lightweight and super strong, virtually odourless, gives easy even colour application and files easily with reduced dust. Works with the other PN Gel Systems. Available in Clear and Pink.
Using The One: Use it sparingly. Think damp, not wet, and only re-moisten your brush when the product starts sticking to it.
A hard gel, not a soak-off: Iconic is solvent resistant and must be filed off. The Lastik or Stick ’n Float base underneath soaks off with acetone once the Iconic is removed.
AT A GLANCE
| TYPE | HEMA free poly-type acrylic gel: hybrid of hard gel and acrylic |
| REMOVAL | Hard gel. File off, then soak off the base |
| CURE TIME | 60 sec in the PN Speciality Dual Cure Lamp |
| COLOURS | Clear and Pink |
| HEMA FREE | Yes |
| LENGTH | Overlays and extensions, including extreme shapes and lengths |
| BASE | Lastik or Stick ’n Float |
| PRIMER | PN Primer or PN Sticky Bond (2 coats of Sticky Bond if no Nail Prep is used) |
| SLIP SOLUTION | The One |
APPLICATION: NATURAL TIP OVERLAY
| PREP | Prep the nails, making sure there’s no shine on the nail surface. |
| PREP | Apply, cut and shape tips (optional). Dust and sanitise the nails with The One Spray and a Nail Wipe. |
| STEP 1: NAIL PREP | Apply PN Nail Prep to the natural nail only, avoiding the cuticle area. Wait for it to dry chalky white (optional). |
| STEP 2: BOND | Apply PN Primer or PN Sticky Bond to the natural nail only, avoiding the cuticle area. Allow to dry. If no Nail Prep is used, apply 2 coats of Sticky Bond. |
| STEP 3: BASE | Apply a base layer of Lastik or Stick ’n Float, staying about ½mm from the cuticle area. Seal the free edge. Cure 60 seconds in the PN Speciality Dual Cure Lamp. |
| STEP 4: BRUSH | Dispense a small amount of The One into a clean dappen dish. Dip the PN Gel Brush or PN Master Kolinsky Brush for 1 to 2 seconds, wipe both sides on the lip of the dish, then offload the bulk on a paper towel. Repeat throughout the service. |
| STEP 5: PRODUCT | Squeeze a small amount of Iconic and cut it off with a spatula, forming a medium ball. |
| STEP 6: SCULPT | Place the ball on the nail and press from side to side, back towards the cuticle (leaving a small margin) and down to the free edge. Take your time to get the shape and thickness you want. Add more product or scrape off excess at the free edge. Do not touch the cuticle or sidewalls. Seal all sides of the free edge. |
| STEP 7: CURE | Cure 60 seconds in the PN Speciality Dual Cure Lamp. |
| FINISH | Remove the tacky layer with The One and a PN Lint Free Wipe. |
| FINISH | Shape the free edge, sidewalls and surface with the PN 100/180 File or a Safety Bit (25,000rpm). The 180 grit side helps reduce specks or a grainy look. |
| FINISH | Buff with a PN 80 Grit Purple Sanding Sponge and remove dust with a PN Dust Brush. Any graininess means it needs more buffing. |
| FINISH | Wash hands thoroughly to remove oil and dust. Apply The One Spray to a nail wipe and sanitise the nails. |
| TOP COAT | For a super glossy finish and extra durability, apply Planet Gel Polish Top Coat. Cure 60 seconds in the PN Speciality Dual Cure Lamp. |
| AFTERCARE | Client to wash hands to remove any product or dust from the skin. Apply cuticle oil. |
REMOVAL
Iconic is a hard gel and must be filed off. Once it’s removed, the Lastik or Stick ’n Float base soaks off with acetone.
| 1 | File with a 180 grit file or an e-file de-bulking bit. Don’t over-file or apply pressure, and keep the file or bit moving. |
| 2 | Iconic feels powdery when filed. When it starts to feel rubbery, you’ve reached the soak-off base. |
| 3 | Prepare one or two PN Quick Soak Bowls: hot water in the white base, acetone in the clear top. |
| 4 | Soak fingertips in acetone for approximately 5 to 10 minutes. |
| 5 | Gently slide off the product with an Orangewood Stick, working from cuticle to free edge. |
| 6 | Client washes hands once the product is removed. |
| 7 | Buff lightly with a Block Buffer, Sanding Band on a Mandrel or Cross Cut Diamond Barrel to remove residue. Do not over buff or apply pressure. |
| 8 | Nails are ready for a fresh application. |
Nails curling after acetone? Soaking for 10 minutes or more temporarily removes some of the nail plate’s moisture, which can change its shape. It returns to normal within about 8 hours. This is more noticeable on thin, flexible nails.
Infill instead of full removal: Constant removal and reapplication thins and weakens the natural nail over time. Instead, use your e-file to de-bulk to a very thin layer of gel and apply fresh product on top. The natural nail stays intact and doesn’t need re-buffing.
I'M BACK!
10% OFF