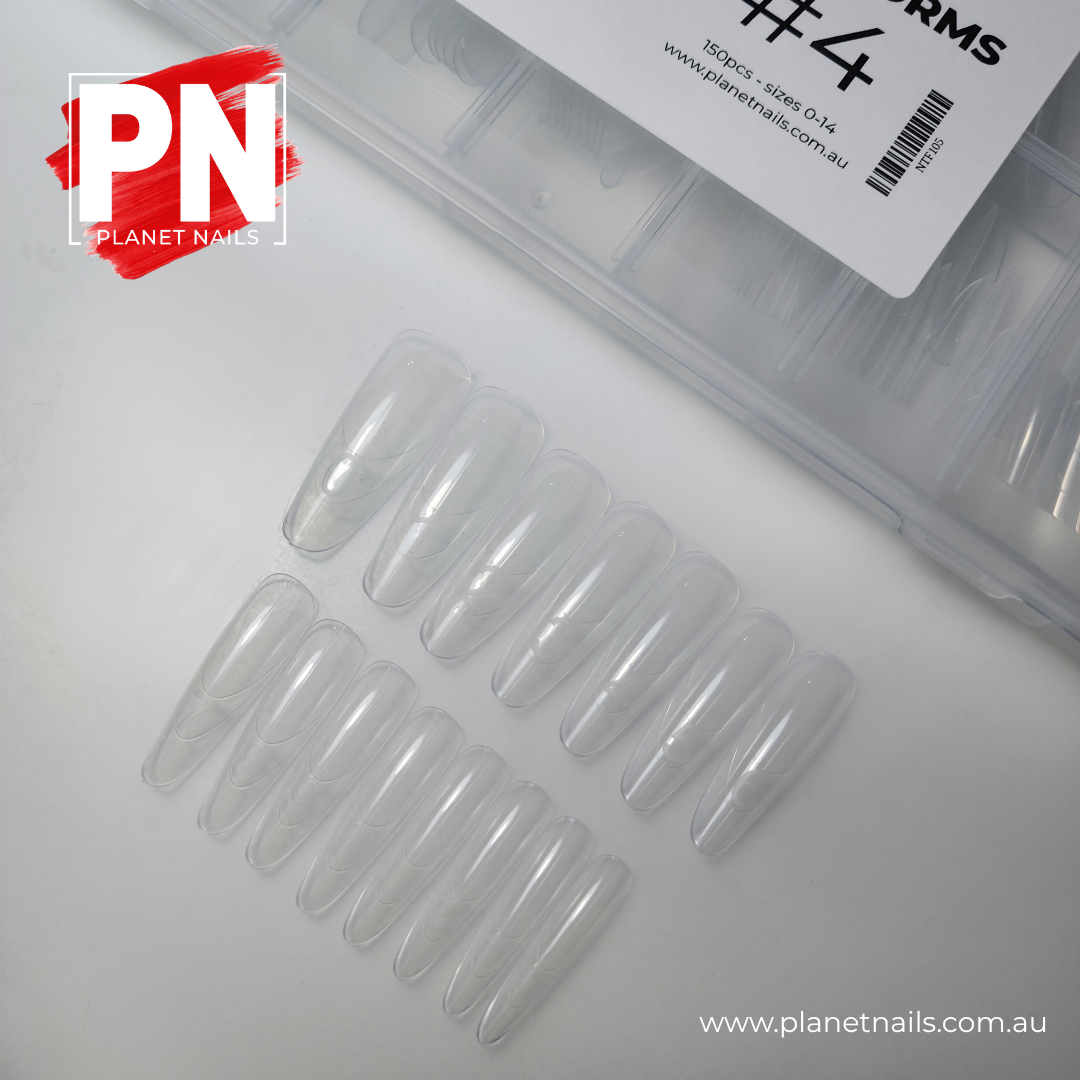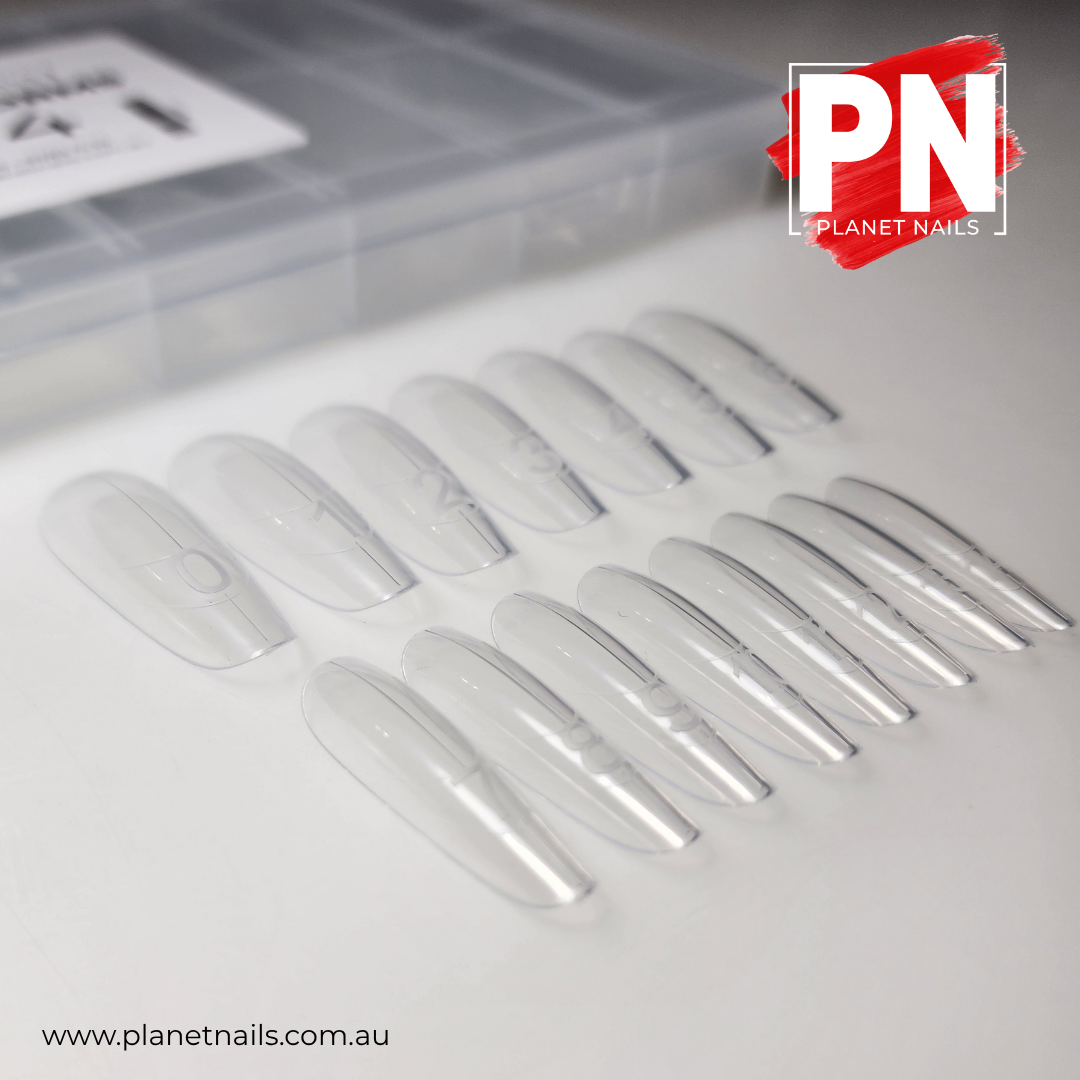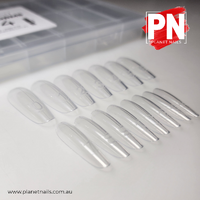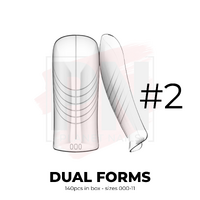
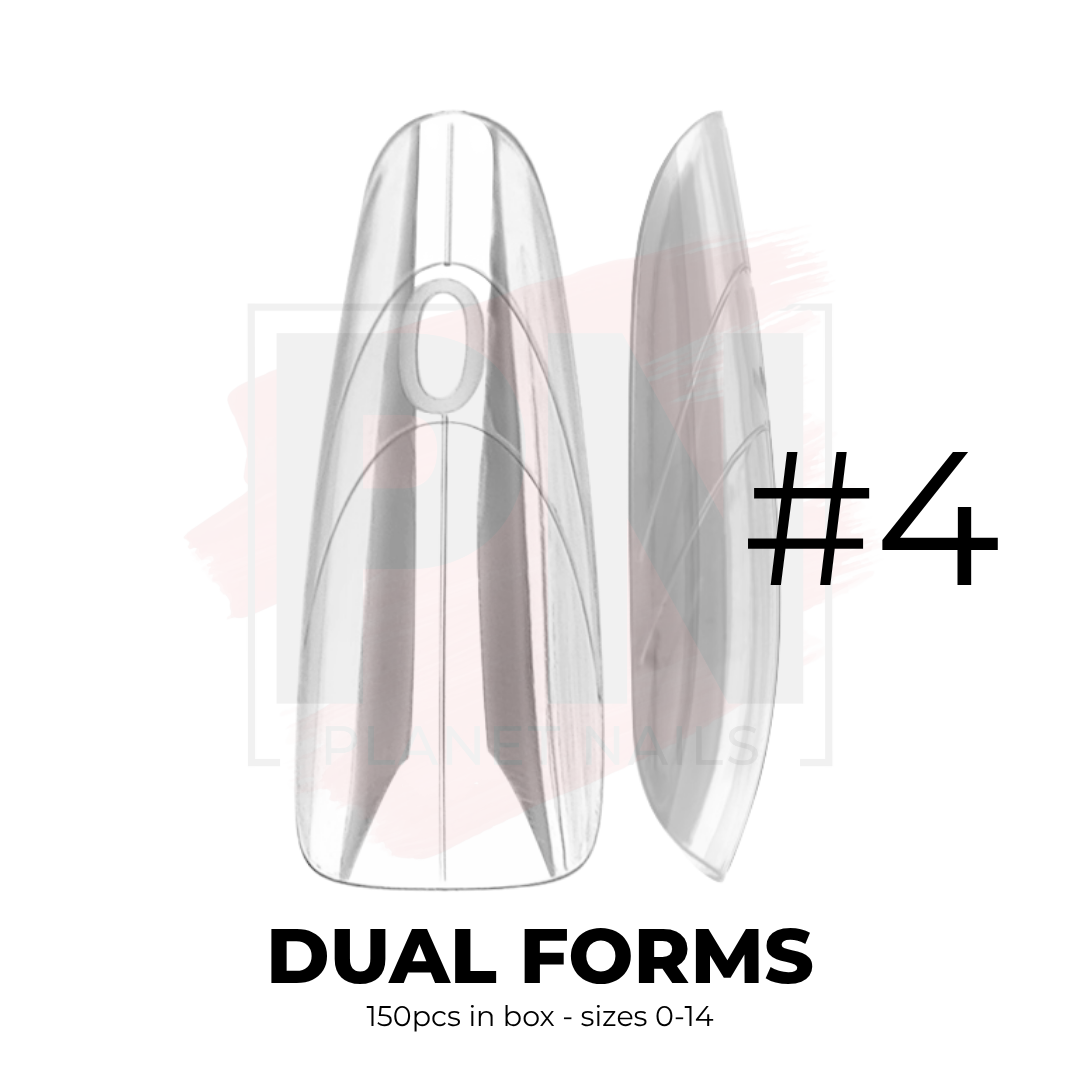
Planet Nails Dual Forms #4 — The Long Almond Extension Form for Medium to Long Dramatic Nails

Almond Shape Dual Forms
$22.00
In Stock


Planet Nails Australia

PLANET NAILS DUAL FORMS

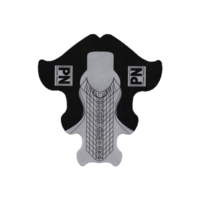
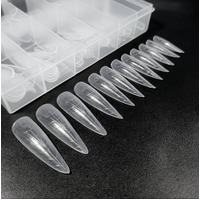
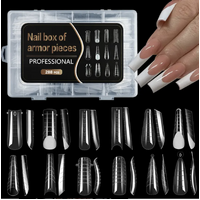
Dual forms are reusable plastic molds that let you build nail extensions and overlays from the top down — no glue, no paper forms, no hand-sculpting required. You fill the form with your chosen product, press it onto the nail, cure, and pop it off to reveal a perfectly shaped, glossy enhancement with minimal filing. Dual forms are a fantastic way to speed up your base structure, giving you more time to focus on design and finishing.

Unlike traditional tips, dual forms are reusable, fully customisable, and work with a range of systems — including Polygel (we love Planet Iconic), hard builder gels (like PUG), and acrylic. The key to great results is choosing the right form for your client's nail anatomy and desired shape — which is exactly what our numbering system is designed to help with.

Dual Forms #4 — The Long Almond
#4
The Long Almond
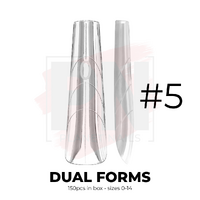
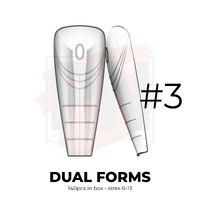
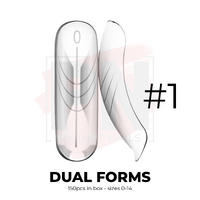
Straight LA · Deep C-Curve · Pronounced Apex · Sizes 0–14 · 150 forms per box
 Intermediate–Advanced

Dual Forms #4 are designed for techs who want to create dramatic, beautifully tapered almond extensions with serious structural integrity. The straight longitudinal arch projects cleanly away from the nail, giving you the length and taper that almond shapes demand without the tip curving downward. The deep C-curve wraps firmly around the sidewalls to deliver a strong, high-structure enhancement — but it does mean this form is best suited to clients who already have a moderate to deep natural C-curve. On a flat nail, the gap created by this form will be significant, increasing product volume and heat spike risk. This is an intermediate to advanced form.

Form Specs
  • Longitudinal arch: Straight — projects cleanly for tapered length
  • C-curve: Deep — high structure, best for moderate to deep natural curves
  • Apex: Pronounced — built for long extension strength
  • Cuticle edge: Thin & flexible — can be cut to fit
  • Sizes: 0–14 · 150 forms per box
Best For
  • Medium to long almond extensions
  • Clients with a moderate to deep natural C-curve
  • High-structure dramatic nail looks
  • Techs confident with product volume control and flash curing
  • Russian almond and tapered oval styles
Almond Tapered Oval Russian Almond (longer lengths)
Pro Tip: The deep C-curve means this form won't sit well on flat nails — if the gap between the form and nail plate looks excessive during dry-fit, switch to #3 or adjust your application method. Always check the sidewall view, not just the top view.
Step-by-Step Application
1
Prep the Natural Nail
Perform a dry manicure, push back cuticles and remove shine from the nail plate. Apply dehydrator followed by primer suited to your client's needs.
Nail Prep Sticky Bond or Primer
2
Apply Base Coat & Remove Inhibition Layer
Apply your chosen base coat and cure under your lamp. Remove the tacky inhibition layer before sizing — this prevents uncured product from transferring to the client's skin during the dry-fit process.
Lastik Stick 'n Float PN Speciality Dual Cure Lamp The One
3
Size & Map the Form
Select your form using the +1 Rule — start with the visual fit, then go one size up. Check for pressure spots, sidewall coverage and a visible gap between form and nail. Mark growth points, free edge and desired length on the form with a Sharpie. Pay close attention to the sidewall view — the deep C-curve must wrap around the nail without forcing or gapping.
4
Optional — Recommended for longer extensions
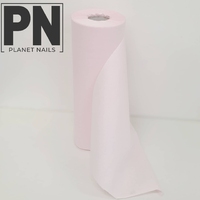
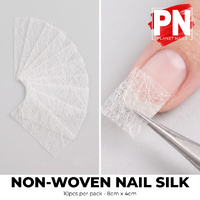
Apply Nail Silk to the Free Edge
For added strength and to help prevent product spillage at the underside free edge, apply a strip of non-woven nail silk over the free edge before placing the form.
5
Load the Form with Product
Apply your chosen structural product inside the form. Concentrate product in the centre stress zone, taper thin toward the cuticle edge. With the deep C-curve creating a larger gap, be especially mindful of product volume — more gap means more heat during curing.
Planet Iconic PUG or PUGGLE PUG Fortify
6
Apply the Form & Flash Cure
Position the form at 45°, aligning centre lines, then slowly roll down toward the free edge. Use light pressure only. Flash cure the nail plate zone only — keep the free edge zone away from the lamp.
Miss Vogue Flash Cure Torch
7
Flip & Clean the Underside
Turn the hand over and use a brush or orange wood stick dampened with slip solution to smooth the underside and remove any product from the skin. Never skip this step.
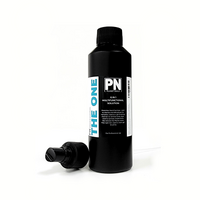
The One
8
Final Cure & Pop
Perform a full cure for 60–90 seconds. Gently pinch the sides of the form and rock slightly to release. If the form is stuck, spray with The One and it should release easily.
PN Speciality Dual Cure Lamp The One
9
Refine & Finish
Refine the cuticle perimeter and free edge shape. Buff only where needed — the form has already done most of the work. Apply top coat, cure, cleanse and finish with cuticle oil.
The One

(NTF105)


Others Also Bought

More From This Category